
Editorial Note: This beauty article is for general editorial inspiration only. It is not medical advice, dermatology advice, diagnosis, treatment, or professional care. Adapt every idea to your skin, body, budget, preferences, and qualified guidance when needed.
A clean brow routine can go wrong in two opposite directions: too little structure leaves gaps looking accidental, while too much pencil or gel makes the brow read as a solid stripe. The useful middle ground starts with seeing what the hairs already do before deciding what to add.
Natural-looking definition also depends on distance. A shape that seems uneven in a magnifying mirror may look balanced at normal viewing range, and a few visible gaps often keep the result believable. The aim here is controlled placement, not identical brows.
Product choice matters only after the brow has been brushed, assessed and separated into three visual zones: the softer front, the fuller middle and the narrowing tail. That sequence keeps natural brow grooming focused, makes it easier to use less pigment and leaves the natural texture visible.
Key Takeaway: Brush first, place pigment only where the brow loses definition, and judge the result from a normal viewing distance before grooming further.
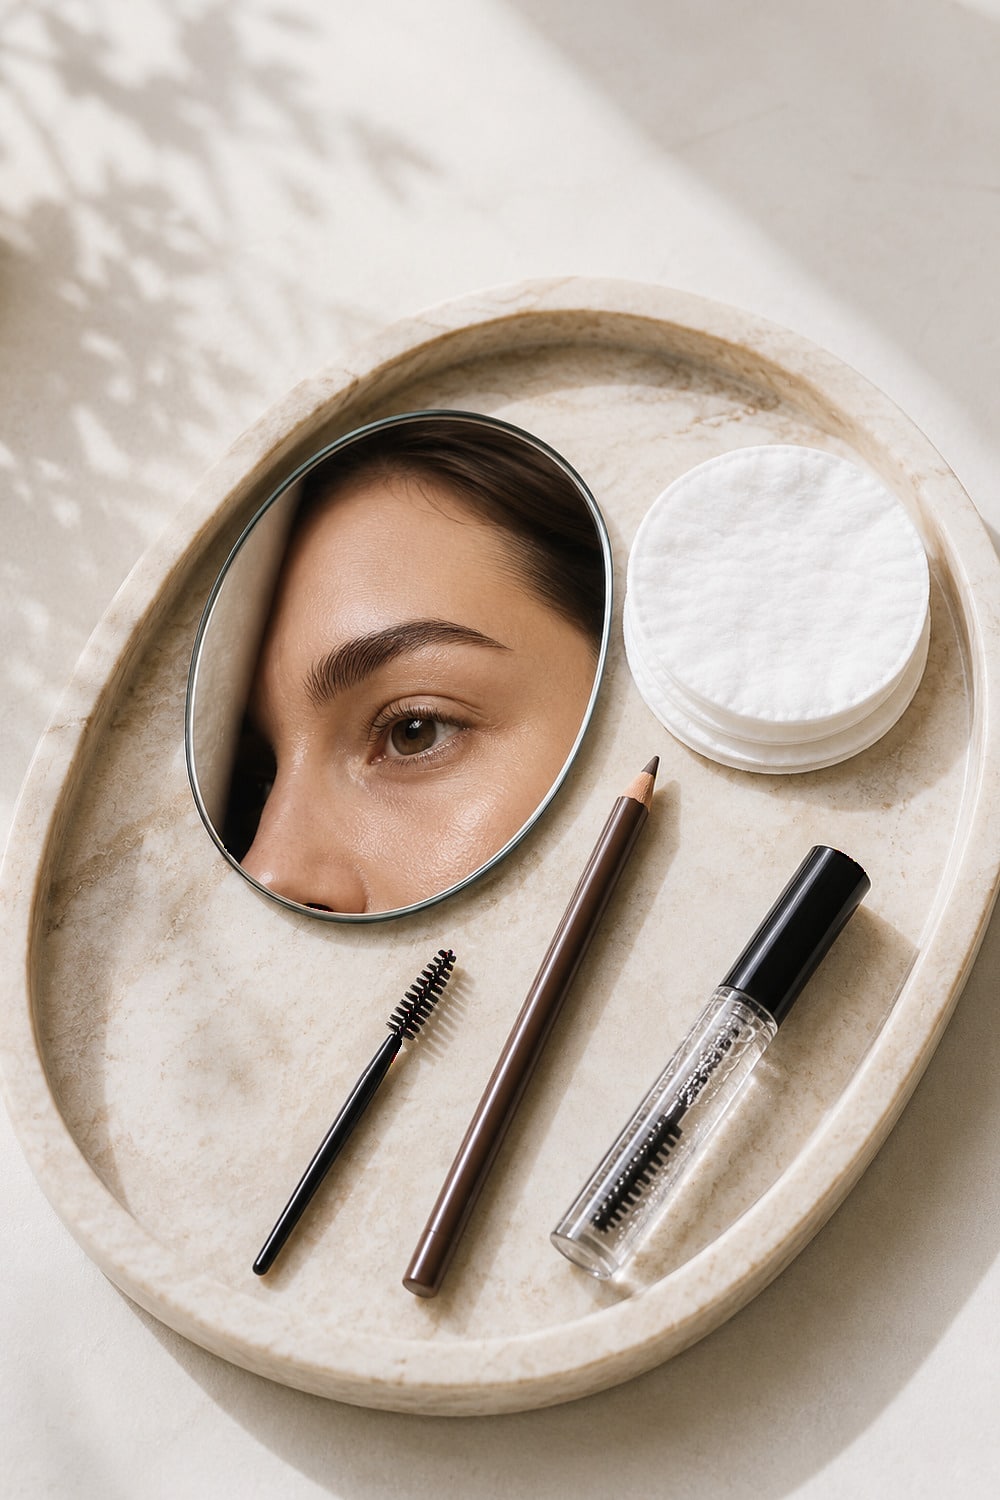
Begin the Clean Brow Routine by Reading the Brow
Start the clean brow routine with dry, product-free brows and a clean spoolie. Brush the hairs upward, then slightly outward, following the direction they naturally settle. This reveals whether an apparent gap is truly sparse or simply covered by a hair that was lying flat. It also shows which hairs are long enough to affect the top line.
Make the first assessment in a regular mirror, then step back. Check the front, middle and tail separately instead of searching for perfect symmetry across the whole pair. Small differences between brows usually need different amounts of product; adding the same stroke in the same place on both sides can create a new imbalance.
The Natural Shape Sets the Boundary
The existing lower edge and the direction of the tail are more useful guides than a trend image. Marking a start, arch and end point can help with orientation, but those points should stay light enough to revise. They are guides for proportion, not lines that must be fully outlined.
Before tweezing, fill the brow as you normally would. Product makes the intended boundary easier to see, so obvious strays sit outside the finished shape instead of being confused with hairs that contribute to fullness. Remove one hair at a time, return to normal distance and stop while the shape still looks familiar.
Trimming needs the same restraint. Brush upward and cut only the isolated ends that project well beyond the top line; cutting a straight row across several hairs can leave a blunt edge or a visible notch when the hairs settle. When the shape feels difficult to judge, leaving it alone or booking a qualified brow professional is the safer editorial choice.
Match the Product to the Missing Detail
A fine pencil keeps the clean brow routine precise around a distinct gap or short tail because it can place separate marks. Powder gives a more diffused shadow through a wider sparse area, while clear or tinted gel mainly changes direction, colour and hold. Choose the product by the job the brow needs, then begin with less than the applicator appears to carry.
Warm neutral makeup can make a strongly outlined brow look heavier than intended. With a latte makeup look, keep the brow front airy and let the middle carry most of the definition, so the brow echoes the softness of the eye and cheek colours instead of becoming the darkest block on the face.
Build Definition From the Tail Forward
Place the first marks where the brow loses the most structure, often through the tail or a visible gap in the middle. Follow the local hair direction with short strokes, then use what remains on the pencil or brush near the front. Comb through once to break up any continuous line. This tail-to-front pressure change creates soft brow definition without requiring a separate shade for every zone.
Distance Prevents Small Corrections From Taking Over
Close work is useful for placing a stroke, but the face is read from farther away. After each small change, lower the tool and look straight ahead in ordinary light. The brow should support the eyes without appearing as a matching pair of drawn shapes.
Use the front of the brow as a restraint check. If the inner edge looks square, too dark or noticeably warmer than the middle, soften it with a clean spoolie or cotton bud instead of adding concealer around the whole perimeter. A little exposed skin between hairs usually reads as texture, not unfinished work.
Let the occasion decide the final level of hold. Brushing alone may be enough for a quiet daytime face; a thin layer of gel can help longer hairs stay directed for an evening look. More product is not automatically more durable, because excess can collect on the skin or dry with a visible cast.
Hygiene and Removal Finish the Routine
Brow tool hygiene completes a clean brow routine: close caps after use, avoid sharing products, and clean reusable tools according to their material and manufacturer instructions. Note when a liquid or gel product was opened, and discard it when its stated period after opening has passed or when its smell, colour or texture changes. A calm routine such as rosewater beauty rituals still benefits from keeping brow tools separate from damp cloths and open containers.
At the end of the day, loosen brow pencil and gel with the same gentle cleanser used for the surrounding makeup, then wipe without repeated rubbing over the hairs. The restrained finish also sits naturally beside details such as soap nails or a soft side part hair, where tidy edges matter more than rigid perfection. Stop using a product that causes a marked reaction, and seek qualified guidance for persistent irritation, swelling or sudden brow changes.
Final Thought
A clean brow routine works best when each decision answers a visible need: brush to reveal the shape, add pigment where definition drops away, and step back before removing or adding more.
References and Further Reading
- The Best Eyebrow Shape For Every Face
- I Haven’t Gotten My Eyebrows Done in a Year—Here’s How I Keep Them in Shape
- How To Perfect Your Eyebrows In 2026
- How to use an eyebrow pencil, according to a makeup artist
- When to toss your makeup and sunscreen
Related Reading