
Editorial Note: This beauty article is for general editorial inspiration only. It is not medical advice, dermatology advice, diagnosis, treatment, or professional care. Adapt every idea to your skin, body, budget, preferences, and qualified guidance when needed.
The sheer finish of soap nails leaves nowhere for heavy colour or elaborate detail to hide. The finish depends on how the natural nail shows through, how even the surface looks in daylight, and whether the topcoat reads as glassy instead of thick.
Soap nails suit that balance: a translucent pink, nude, ivory, or clear base with enough shine to look freshly finished. The main choice is not simply which pale bottle looks prettiest, but how its undertone and opacity behave over your own nail line.
This approach also has a practical limit. A sheer coat will not fully disguise staining, ridges, uneven length, or old product at the edges, so preparation and realistic coverage matter more than adding another decorative element.
Key Takeaway: Keep the colour translucent, build only enough coverage to soften the nail line, and let a smooth high shine provide the finished effect.
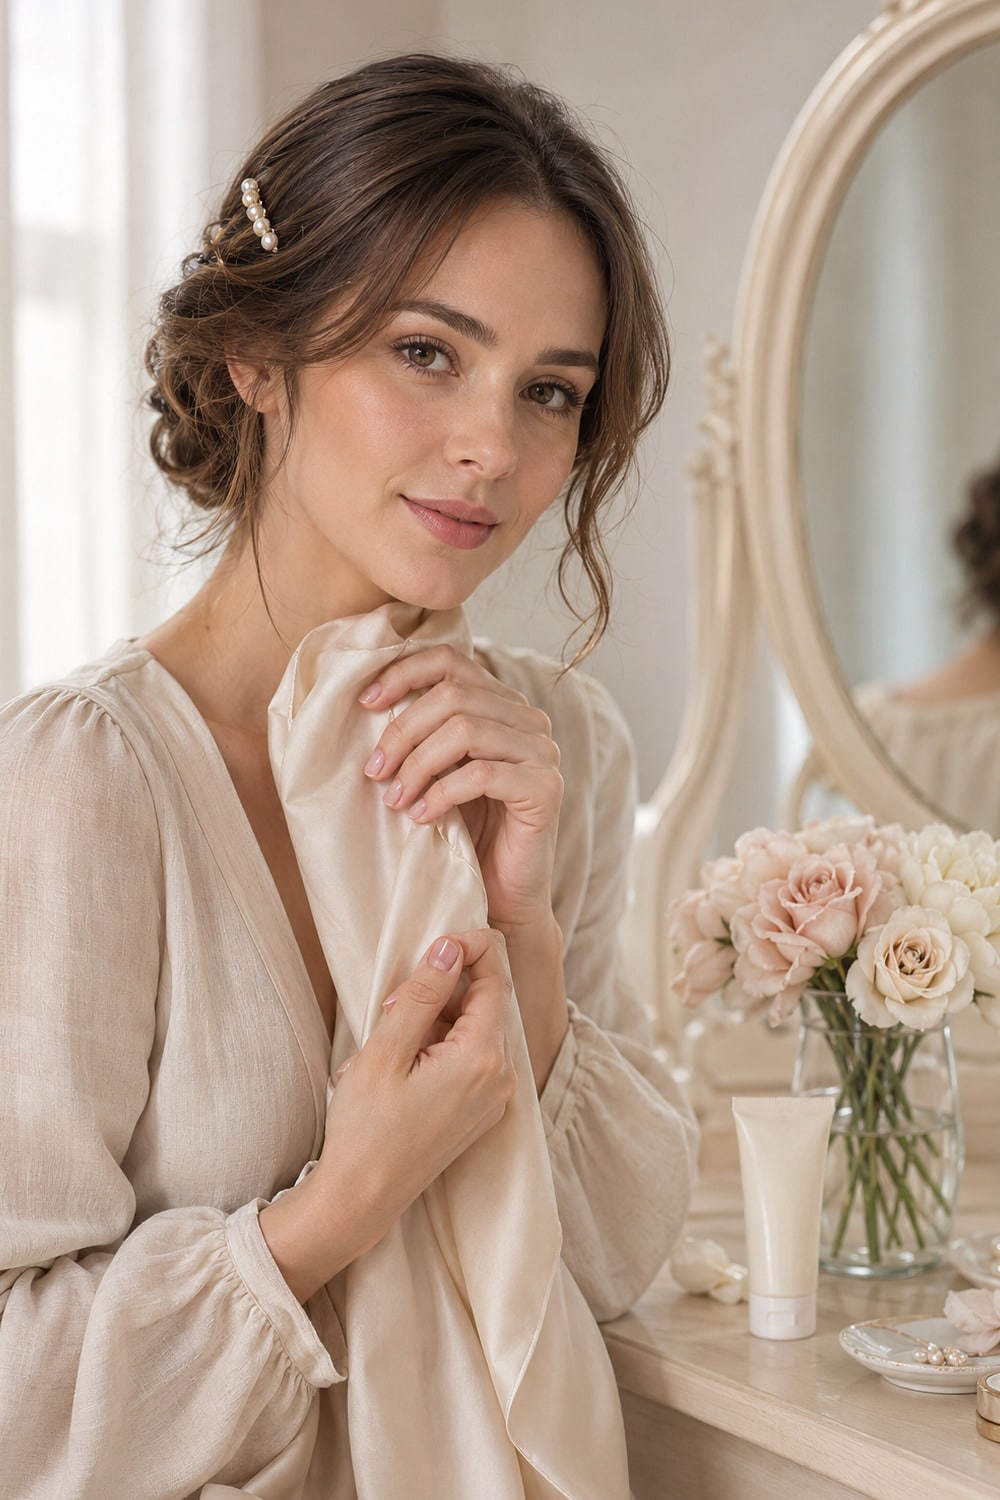
The Finish That Defines Soap Nails
The clearest distinction in a sheer nail finish such as soap nails is opacity. The natural nail line and some variation in the nail plate remain visible beneath a pale tint. Milky nails use more suspended white or cream pigment, so the free edge looks softer and the whole nail appears cloudier.
Glazed or lip oil finishes introduce another difference. Chrome powder, pearl, or fine shimmer reflects light in a way that creates a visible surface effect; the soap version relies on a smooth clear shine. Under direct light, it should look wet and transparent, without a frosted, metallic, or sparkly cast.
That does not require a completely colourless polish. A cool pink can brighten the look of a naturally pink nail bed, while beige, peach, or soft ivory can reduce a strong contrast between the nail bed and free edge. The most useful test is whether the shade still looks translucent after the coat that gives you acceptable evenness.
A Shade Test Before the Full Manicure
Translucent pink polish changes more noticeably from person to person than an opaque cream. The bottle may look pale pink, yet a single coat can read grey, orange, or almost clear once the natural nail shows through. Paint one nail and check it near a window after it dries, including the free edge, before committing to both hands.
Use a simple coverage ladder when deciding how many coats soap nails need. One thin coat gives the most transparent result; a second softens the nail line while usually preserving the soap effect; a third may move the finish closer to a milky manicure. Stop when the surface looks even enough for you, not when the bottle colour becomes fully visible.
Shape and Surface Prep for a Sheer Result
Short oval, soft square, and squoval shapes keep the edge controlled and make small differences in length less obvious. A natural almond can work at medium length, but a very pointed tip creates stronger contrast with the quiet finish. Match the shape to the shortest nail instead of filing every nail toward an ideal length.
Remove old polish completely, wash away filing dust, and dry the nails before applying base coat. Light buffing can reduce a rough patch, but repeated aggressive buffing thins the surface and is unnecessary for a translucent manicure. A ridge-filling base can create a visually smoother canvas without asking the colour coat to do all the work.
Keep cuticle work conservative. Gently tidy loose skin and hangnails, but avoid cutting or removing intact cuticle tissue. If one nail has a deep split, pain, swelling, or an unexplained colour change, treat that as a separate nail concern and do not try to camouflage it with sheer polish.
Thin Layers Make the Shine Look Cleaner
A controlled brush load keeps soap nails thin. Wipe excess polish from one side of the brush, place a small bead just above the cuticle, and pull it toward the tip in a few light strokes. Thick coats can pool at the sides and stay soft underneath, while repeated brushing may leave streaks. Let each layer settle before deciding whether it needs another coat.
A base coat helps the tint spread more evenly and gives the top layers a consistent surface. Choose a clear version when you want maximum transparency, or a lightly tinted smoothing base when the nail line is uneven. Avoid stacking several corrective products beneath the colour, because the accumulated thickness can make the finish look gel-like and erase the barely there effect.
Apply a glassy topcoat after the colour has had time to set, then cap the free edge with a light pass. The goal is one continuous reflection across the nail. If the surface still looks streaky, another glossy layer may improve shine, but it will not correct ridges, trapped lint, or polish that has flooded the sidewalls.
Wait until the polish is firm before using hand cream or cuticle oil around the finished manicure. Oils are useful after drying, but residue on the bare nail before painting can interfere with an even application. This timing detail often matters more than choosing an especially glossy product.
Sheer Colour in a Wider Beauty Palette
A neutral nail does not need to match skin tone exactly. A slightly cooler pink creates a crisp contrast beside gold jewellery, while peach-beige or warm blush can sit more quietly with cream, tan, olive, and rust clothing. An apricot makeup look can share the same warmth without making the manicure and makeup look deliberately matched.
For deeper seasonal colour, let the nails act as a transparent pause instead of repeating every warm tone. The softness of soft copper hair color and the definition of cinnamon brown makeup already bring visible pigment near the face; a sheer peach or beige-pink nail keeps the overall palette connected while preserving a lighter finish on the hands.
Wear and Removal Without Excess Build Up
Because soap nails use translucent colour, a small chip may be less obvious than it would be in red or navy polish. A fresh topcoat can extend an intact manicure when the shine has dulled, but painting repeatedly over lifted edges traps texture and makes the tip look cloudy. Remove the polish once peeling begins; extra layers will create a thicker patch.
Use the remover suited to the product you actually applied, and do not pick off gel or long-wear layers. After removal, file snags in one direction and moisturise the surrounding skin. For frequent typing, cooking, cleaning, or gardening, a shorter free edge usually gives the finish a neater wear pattern and reduces how often the shape needs correction.
A sheer reset between darker manicures can be visually useful, but it does not repair the nail plate or erase damage from removal. Give the nail a tidy shape, choose the coverage it can support, and keep the cosmetic claim modest: the manicure can look smoother and glossier while it is worn.
When the Barely There Effect Is Not Enough
A visible stain, pronounced ridge, or patchy free edge may need more coverage than soap nails are designed to provide. A semi-sheer pink-beige, a softly opaque milky shade, or a conventional neutral cream can look more even with fewer total layers. Choosing a different finish is often better than forcing transparency over a surface you would rather cover.
The same restraint applies to nail changes. Polish can alter appearance, but it should not be used to interpret persistent pain, swelling, lifting, or sudden changes in colour or texture. Leave the area unpolished when needed and seek qualified guidance for a concern that is ongoing, severe, or unfamiliar.
Final Thought
Soap nails work when the natural nail remains part of the design: choose a tint that behaves well over your nail line, keep the layers thin, and stop adding product once the surface is even and reflective.
References and Further Reading
- The Ultimate Guide to Every Type of Sheer Manicure, From Soap Nails to Jelly Manis
- Why Everyone’s Suddenly Asking for Soap Nails
- Soap nails are the minimalist manicure lover’s dream
- Soap Nails Are the Minimalist Manicure of My Dreams—Here’s How to Get the Look
- 11 dermatologists’ tips for healthy nails
Related Reading